Difference between revisions of "Modeler:Tutorial/Classification and Qualification"
| Line 35: | Line 35: | ||
1. Open the Repository menu and select New Expression (or press F6). | 1. Open the Repository menu and select New Expression (or press F6). | ||
2. Enter the fact expression 'There is a student Peter Johnson'. | 2. Enter the fact expression 'There is a student Peter Johnson'. | ||
Revision as of 09:44, 18 February 2013
This lesson is mainly concerned with the classification and qualification of fact expressions. It will also cover two important windows from CaseTalk: The Project Manager and the IG Viewer. Finally it treats several ways to look at your information grammar which is developing during the classification and qualifcation of the fact expressions.
Creating a project
Start CaseTalk
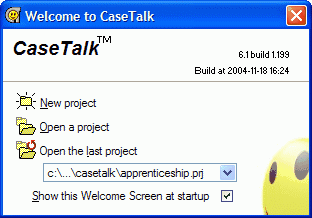
This window contains three buttons providing you quickly create, open or reopen CaseTalk projects.
Click New Project
If the Welcome Screen does not appear select New Project from the File menu.
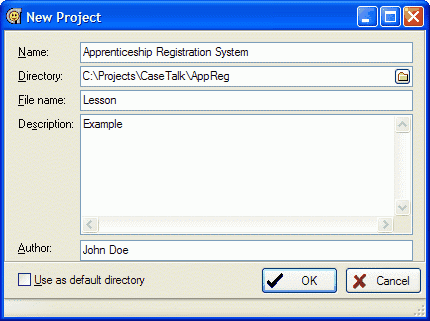
Enter the project information as shown below and click Ok
If you do not have this directory you may select and/or create it by clicking the small folder button within the Directory edit box.
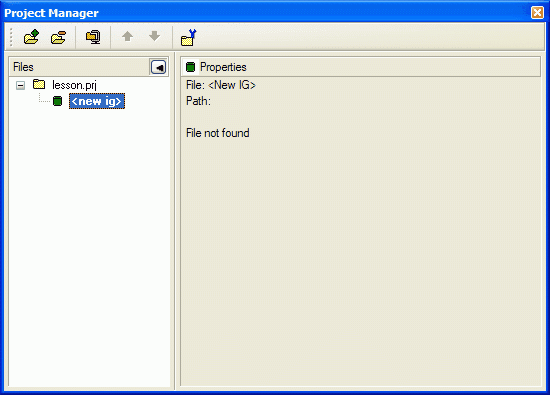
The following windows will appear:
The first window, the Project Manager, is divided into two sections: on the left side the files related to the project will be displayed in an hierarchical tree; on the right side the properties of the selected file will be displayed.
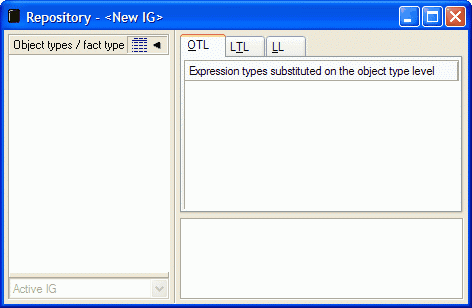
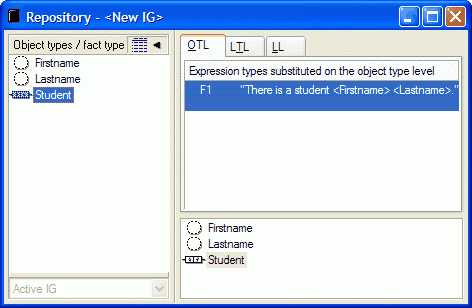
The second window (also divided into two sections) is the IG Viewer and is titled . On the left side all names of the object types and fact types will be displayed. The fact (type) expressions related to the selected object type or fact type will be displayed on the right side. This window displays all model information in a browsable manner.
A third and last window is opened when starting a new project and that is the expression entry window. We will go into that in the next section.
The right sections of both the Project Manager and the IG Viewer can be hidden by clicking the symbol.
Press F3 to make the IG Viewer the top window.
Fact expression 1
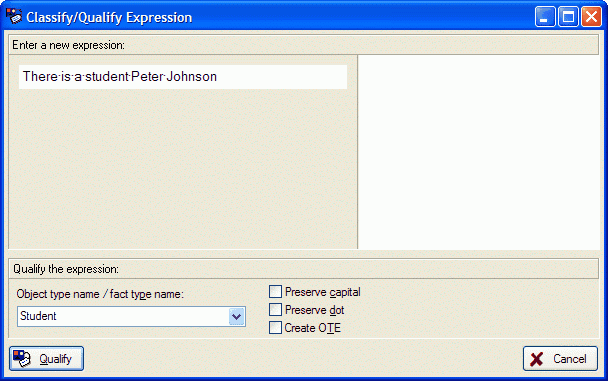
1. Open the Repository menu and select New Expression (or press F6).
2. Enter the fact expression 'There is a student Peter Johnson'.
(Do not enter the ).
3. Type 'Student' in the object type / fact type field:
4. Click Qualify or press Enter.
By clicking Qualify you have assigned the fact expression 'There is a student Peter Johnson' to the fact type 'Student'. At the same time a diagram preview is drawn in the right panel. The further the qualification proceeds the more complete this diagram will become. It will give you visual feedback on what you're modeling. Escpecially handy when a modeling on top of parts already present in the Repository.
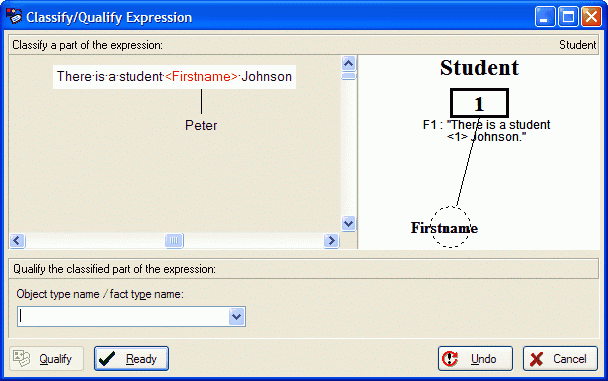
5. Select the expression part 'Peter' using the mouse or keyboard.
Note: If you have made an error, you can press the Undo button to undo the last action.
6. Type 'first name' in the object type / fact type field.
7. Click Qualify.
This assigns the expression part 'Peter' to the object type 'first name'.
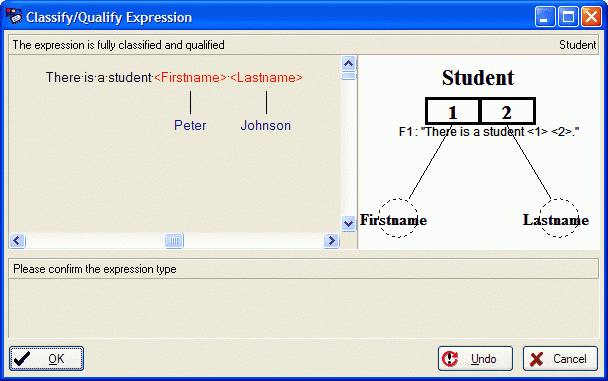
8. Select the expression part 'Johnson'. Type 'lastname' as the object type / fact type name and click Qualify.
9. Click Ready to confirm you have classified and qualified all variable expression parts in 'There is a student '.
10. Click Ready to confirm you do not want to classify any variable expression part in 'Peter'.
As a result of this action 'first name' will become a label type.
11. Click Ready, then click Ok.
By clicking Ok you confirmed the classification and qualification of the fact type expression. The object types / fact types: 'Student', 'first name' and 'lastname' will be displayed in the IG Viewer.
12. Click on 'Student' in the IG Viewer:
The new fact type expression will be displayed in the top right section of the IG Viewer. Currently the bottom right panel contains the same information as the left panel. This is temporarily since, it contains related information. You may navigate the model later on, by double cliking related items in the bottom right panel
