Modeler: Tutorial/Classification and Qualification
This lesson is mainly concerned with the classification and qualification of fact expressions. It will also cover two important parts of the main screen from CaseTalk: The Project Manager on the right and the IG repository on the left. Finally it treats several ways to look at your information grammar which is developing during the classification and qualification of the fact expressions.
Creating a project
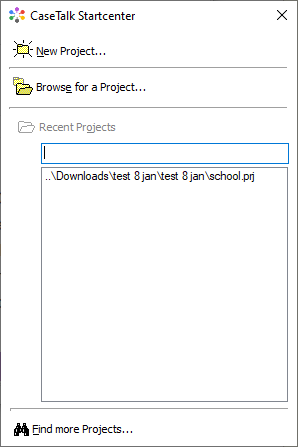
Start CaseTalk
This window contains options providing you to quickly create, open or reopen CaseTalk projects.
Create New Project
If the Welcome Screen does not appear select New Project from the File menu.
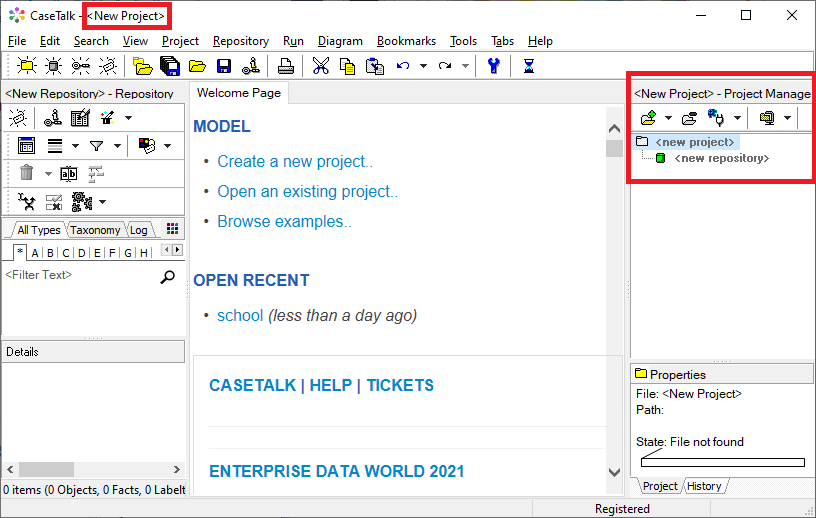
The main window title bar shows the temporary projectname ('new project') and the project manager on the right also shows the new project and the new IG that is automatically created within the project.
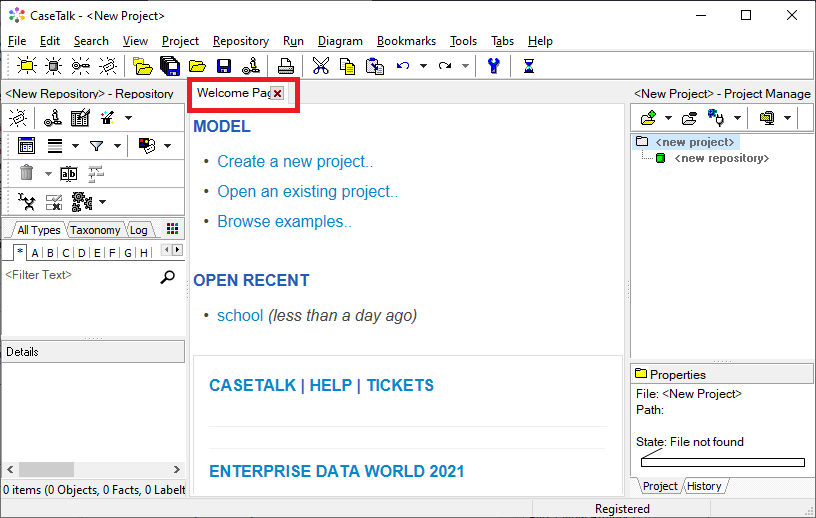
You can close the welcome-tab at any time by hovering over the tab and click the close button that becomes visible.
Disable UC-wizard
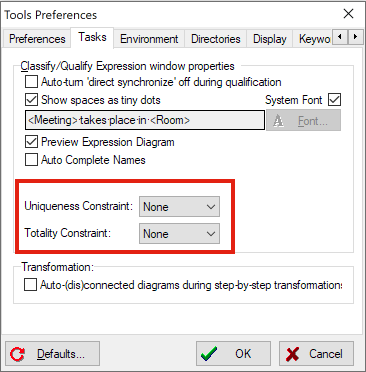
The UC-wizard helps you in later stadia when searching for Uniqueness Contraints in Fact Types, but for this part in the course it's best to disable it temporarily.
Go to Tools >> Preferences to set both wizards to None.
Entering the first Fact Expression
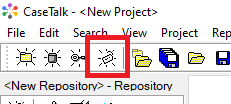
1. Click on 'New Expression' in the toolbar, or press F6.
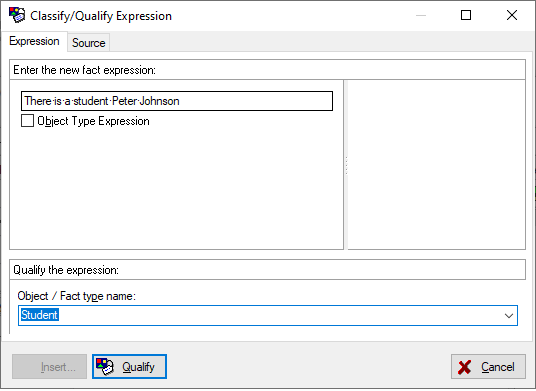
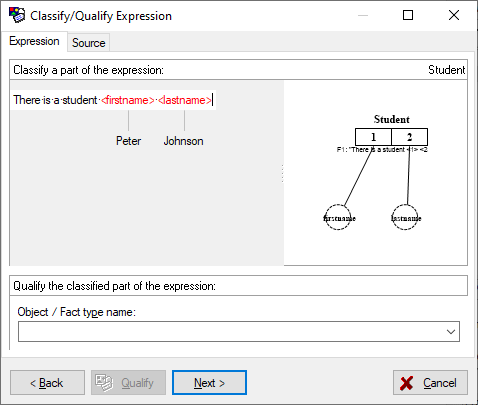
2. Enter the fact expression: There is a student Peter Johnson.
3. Type Student in the object type / fact type field:
4. Click Qualify or press Enter.
By clicking Qualify you have assigned the fact expression There is a student Peter Johnson. to the fact type Student. At the same time a diagram preview is drawn in the right panel. The further the qualification proceeds the more complete this diagram will become. It will give you visual feedback on what you're modeling. Especially handy when a modeling on top of parts already present in the Repository.
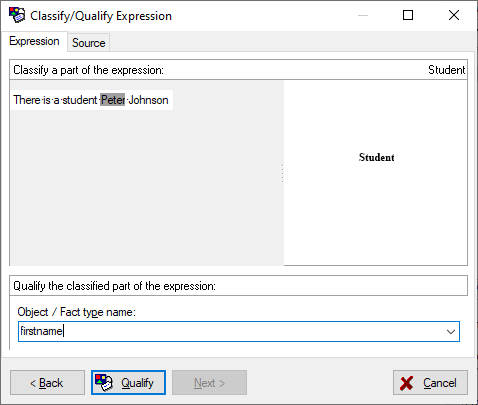
5. Select the expression part Peter using the mouse or keyboard.
Note: If you have made an error, you can press the Back button to undo the last action(s).
6. Type firstname in the object type / fact type field.
7. Click Qualify.
This assigns the expression part Peter to the object type firstname.
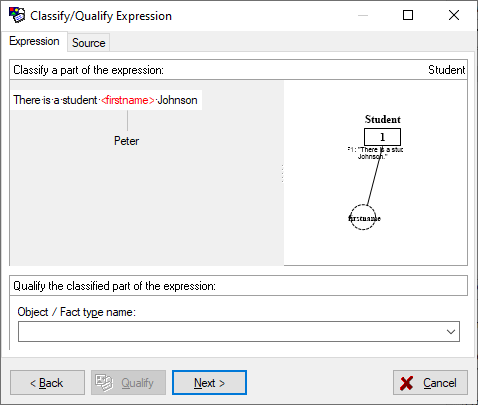
8. Select the expression part Johnson. Type lastname as the object type / fact type name and click Qualify.
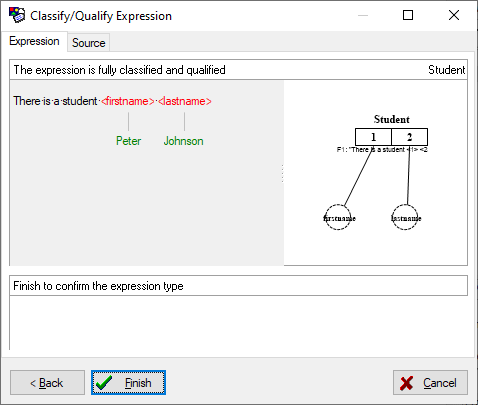
9. Click Next to confirm you have classified and qualified all variable expression parts in There is a student named Peter Johnson. This brings you to the information Peter.
10. Click Next to confirm you do not want to classify any variable expression part in Peter. As a result of this action firstname will become a label type.
11. Click Next to confirm you do not want to classify any variable expression part in Johnson. As a result of this action lastname will become a label type.
12. Click Next, then click Finish.
By clicking Finish you confirmed the classification and qualification of the fact type expression.
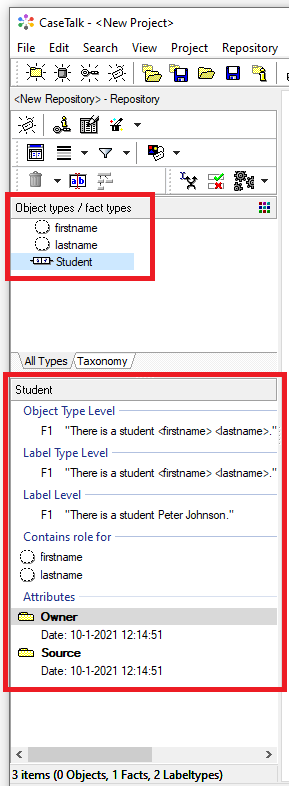
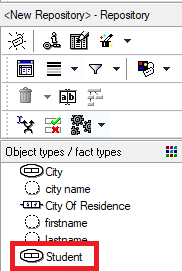
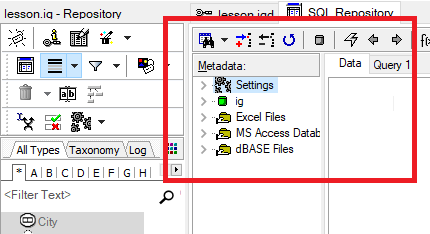
13. The repository on the left now shows all the qualified Fact-, Object- and Label-Types so far. Clicking on an asset shows more information below.
Entering a second Fact Expression
1. Select New Expression.
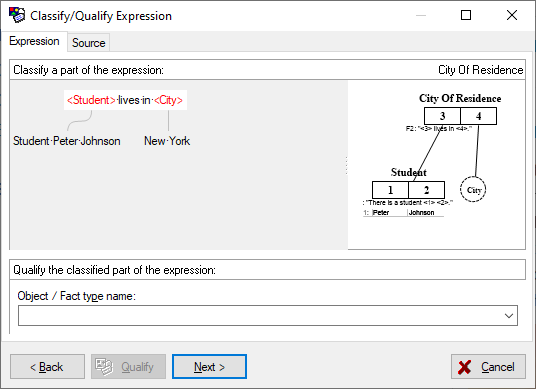
2. Enter the fact expression Student Peter Johnson lives in New York. (This expression is a different fact type expression then the one you just modeled.)
3. Type City Of Residence in the object type / fact type field, then click Qualify.
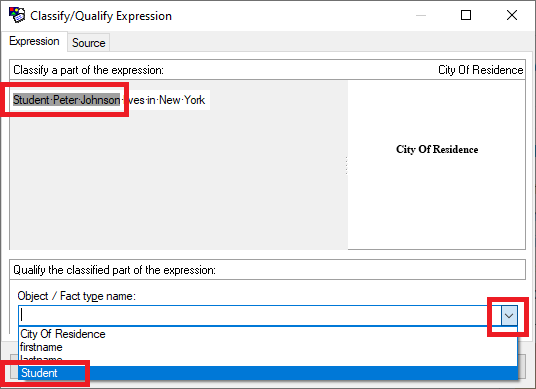
4. Select the expression part Student Peter Johnson, and qualify this part as Student by clicking the small arrow below and selecting Student from the dropdown-list:
By doing this, the fact type Student you modeled in the first expression, now automatically becomes an nominalised fact type in this expression.
5. Select the expression part New York and qualify this part as City.
6. Click Next. The expression part Student Peter Johnson will now be activated.
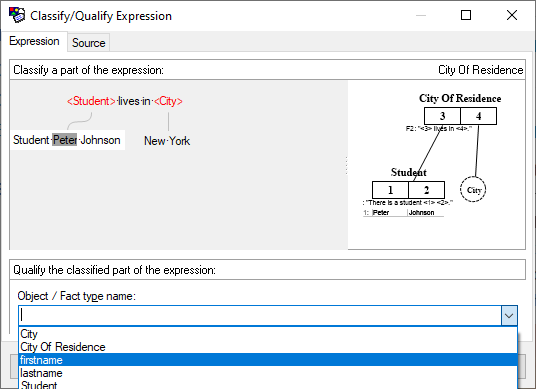
7. Select the expression part Peter and qualify this part as firstname, by clicking the small arrow below and selecting firstname from the dropdown-list:
You can also search in the object type / fact type field by entering the first letters of the name you are looking for and pressing the arrow down key several times.
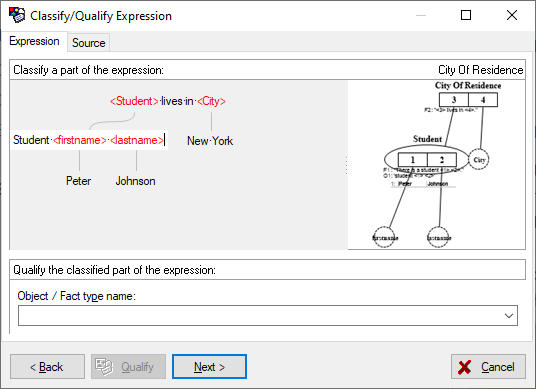
8. Select the expression part Johnson and qualify this part as lastname.
9. Click Next.
Note: The expression part New York is activated instead of the expression part Peter. CaseTalk knows that both firstname and lastname are label types (therefore cannot contain any roles).
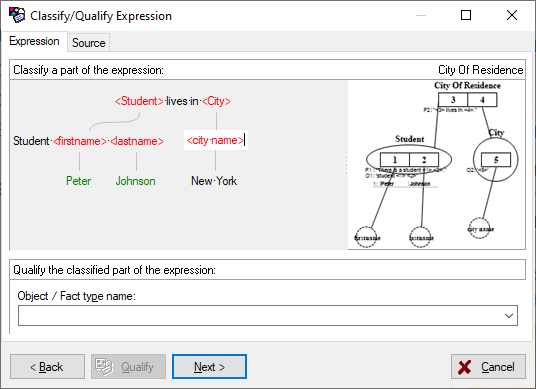
10. Select the complete expression part New York and qualify this part as city name.
11. Clik Next a couple of times until you see the Finish button.
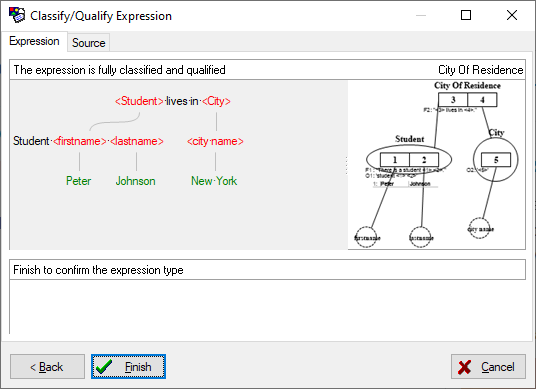
Compare your screen with the image above. If they are the same, click Finish.
You have now confirmed the classification and qualification of the fact type expression. Again, the IG repository on the left is updated to display the new object types / fact types. As said earlier: the fact type () 'Student' is changed into a nominalized fact type ().
Examining regenerated fact (type) expressions
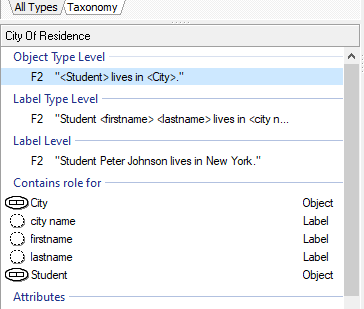
Click on City Of Residence in the IG Repository.
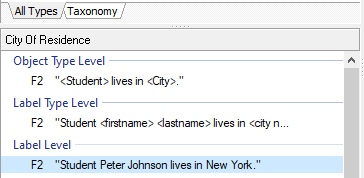
The fact type expression: " lives in " will be shown in the lower section of the IG repository. The expression codes of the object type expressions which should be substituted are displayed between the <>.
On the object type level the object type expressions are not substituted into the shown fact type expressions.
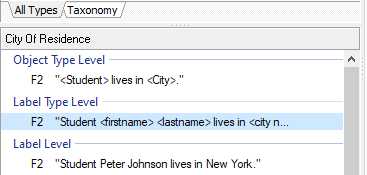
On the label type level object type expressies are substituted in the fact type expressions. As a result the fact type expression changes into: "Student lives in ".
On the label level both object type expressions and labels are substituted. As a result the fact type expression now changes into the fact expression: Student Peter Johnson lives in New York.
A summary of the three substitution levels:
- OTL: lives in
- LTL: Student lives in
- LL: Student Peter Johnson lives in New York
Select the fact type Student. All items related to Student are shown in the bottom left panel.
Looking at the IG: Fact Type documentation
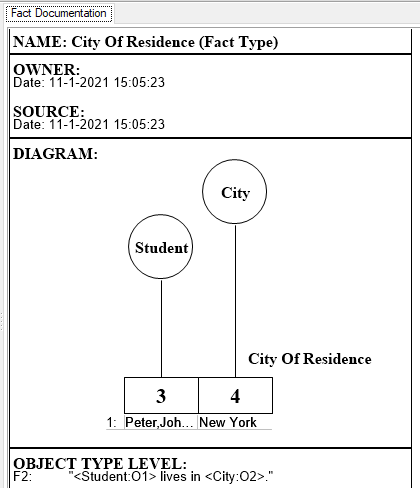
1. Open the View menu and select Fact Type Report (F8). The OTFT Documentation window will now appear. In the window the fact type documentation for the selected fact type (in the IG repository) will be displayed.
2. Keep the OTFT Documentation window open and select another object type or fact type from the IG Viewer. Note: The contents of the OTFT Documentation window is automatically updated.
To print the fact type documentation select menu File >> Print Fact documentation. Ctrl+P You can also press Ctrl+C to copy this image to the clipboard for processing in other applications.
3. Close the Fact Documentation tab
Saving a Project
1. Select the Save All button to save the project and all related files.
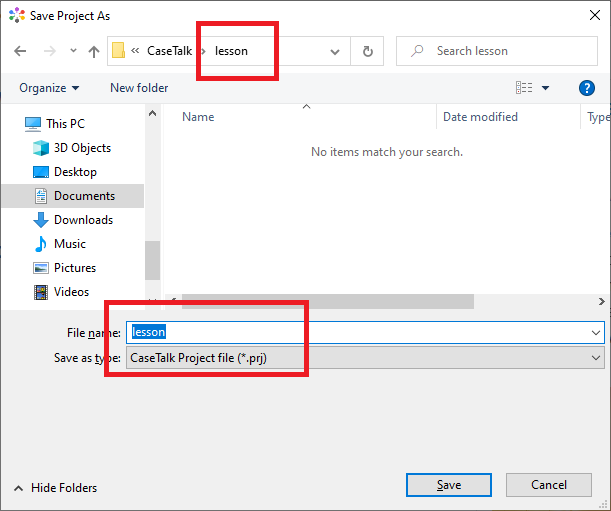
Important: every project must be saved in a separate folder, thus preventing project files from different projects getting mixed up. For this tutorial, make a separate folder called lesson.
2. Open the lesson-folder and choose the filename lesson for the CaseTalk project file.
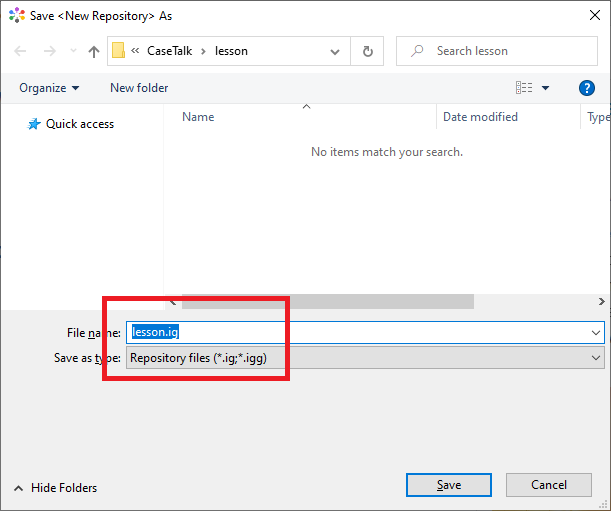
3. Click Save and then save the repository as lesson.ig.
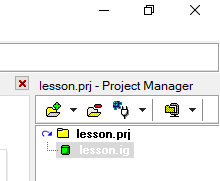
4. The title bar and the Project Manager on the right show the new name for the project and the IG.
Looking at the IG: The information grammar diagram
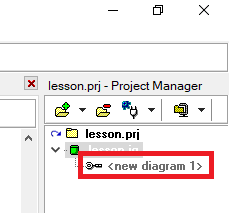
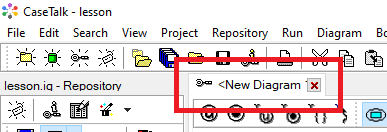
1. Open the File menu and select New, Diagram. Note: The file has been added to the Project Manager. Diagrams are saved separately from information grammars.
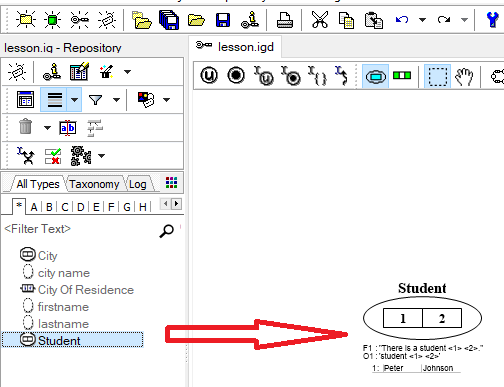
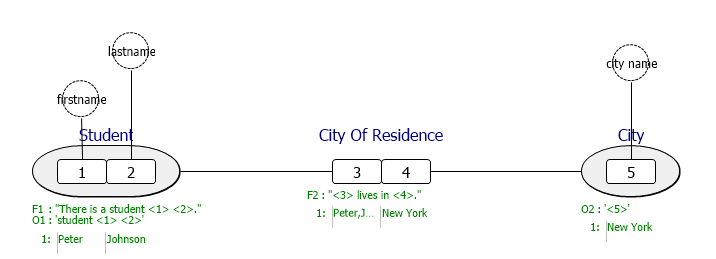
2. Select the fact type Student from the IG repository on the left and drag it to the Diagram Designer window. Note: you can drag any separate item from the repository to the IGD.
During the classification and qualification of fact expression CaseTalk automatically assigns role numbers to the variable expression parts. As a result the role numbers in your diagram may differ from the role numbers in other documents containing the Apprenticeship example.
3. Complete the diagram by placing the other Object-, Fact- and Label-Types. You may do this by either dragging more separate items into the diagram or use Ctrl+A to select all items and then drag and drop. The last is best when having a lot of items in the repository.
Looking at the IG: The repository
1. Open the Repository menu and select Query Repository (or press Ctrl+Q)
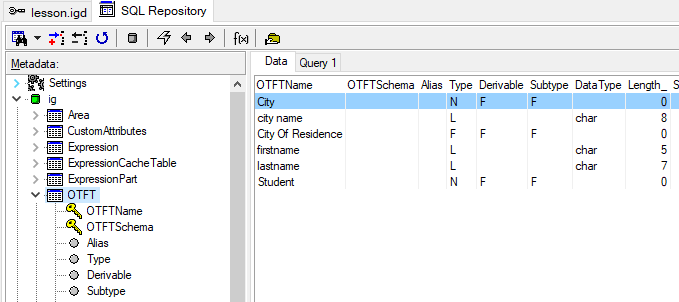
In the Query Repository you will find the names of all repository tables (and perhaps some ODBC database connections, which will be ignored in this tutorial).
2. Open the IG and click the OTFT table:
3. A Table Viewer window appears, containing the object type / fact type table. The structure of the Repository will not be explained in this lessons. Note: you're able to query the repository using SQL.
4. Close the SQL-repository tab.
Entering a third Fact Expression
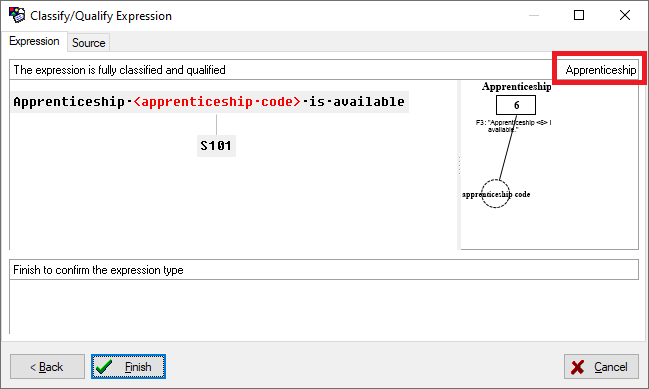
Classify and qualify the fact expression Apprenticeship S101 is available as shown below. The fact expression belongs to the fact type Apprenticeship, this name is shown in the upper right corner of the window:
Enter a fourth Fact Expression
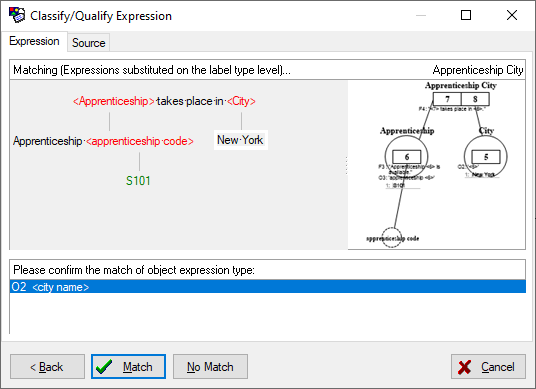
1. Classify and qualify the fact expression Apprenticeship S101 takes place in New York until you have reached the point shown below:
2. The expression part New York has been activated. In the lower section of the window object type expression O2 has been displayed. CaseTalk suggests to classify and qualify object expression New York as O2.
3. Click Match. Object expression New York will be classified and qualified automatically.
Entering Last three Fact Expressions
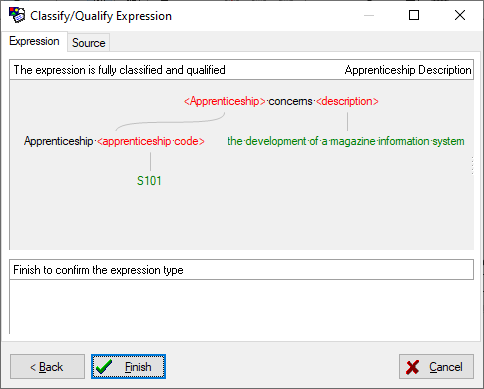
1. Classify and qualify the fact expression Apprenticeship S101 concerns the development of a magazine information system. Object expression Apprenticeship S101 can be classified and qualified automatically as O3: Apprenticeship:
Note: This window has the preview sized to hide itself. You can do this by dragging the edge between the expression and the preview panel to the right until it snaps out of sight. You can resize it back at any time.
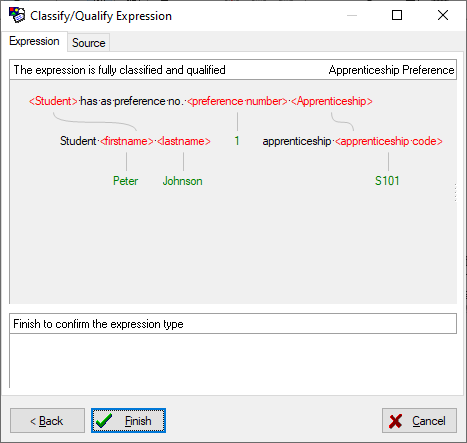
2. Classify and qualify the fact expression Student Peter Johnson has as preference no. 1 apprenticeship S101:
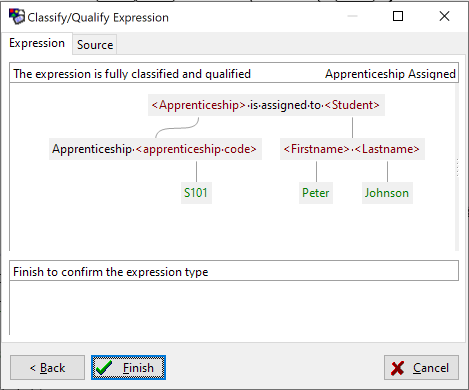
3. Classify and qualify the fact expression Apprenticeship S101 is assigned to student Peter Johnson.:
4. Save the changes in the project (Open the File menu and select Save All). Save the as lesson.igd.
Back: Navigation
